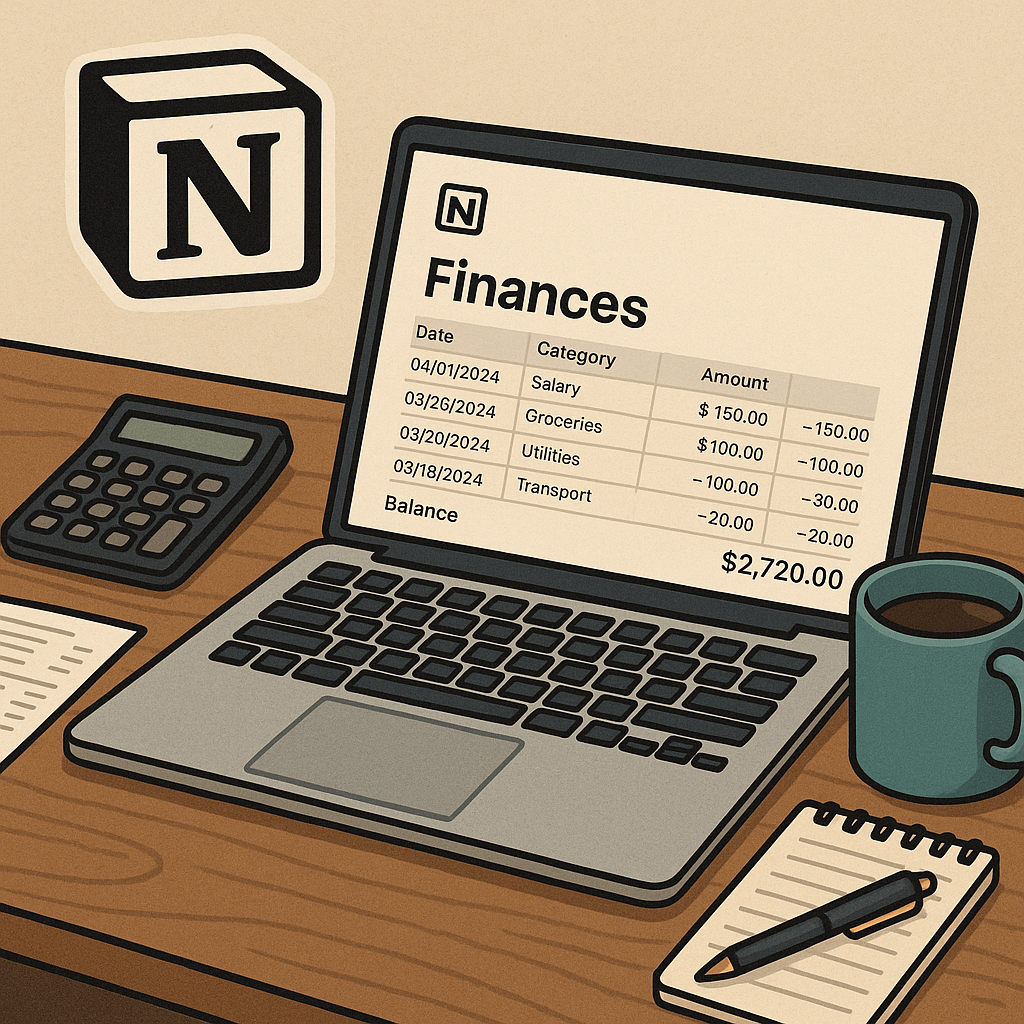
Managing your finances can sometimes feel overwhelming, but with the right tools, it doesn’t have to be. Enter Notion — a powerful all-in-one workspace app that many people use for note-taking, project management, and yes, even personal finance tracking.
If you’re looking for a flexible, customizable way to organize your budget, expenses, savings goals, and more — Notion can be a game-changer. In this guide, we’ll walk you through how to use Notion to track your finances effectively, even if you’re a complete beginner.
💡 Why Use Notion for Finances?
- Highly customizable: Build exactly what you need without limitations
- All-in-one place: Combine budget tracking, goals, and notes
- Visual and intuitive: Use tables, calendars, charts, and more
- Collaborate easily: Share your finance pages with a partner or advisor
- Accessible everywhere: Syncs across devices and platforms
🛠️ Setting Up Your Finance Tracker in Notion: Step-by-Step
Step 1: Create a New Page for Your Finances
- Open Notion and click “+ New Page” in the sidebar
- Name it something like “Personal Finance Tracker”
- Choose “Empty with Icon” or start from a template if you want
Step 2: Add a Budget Table
- Click “/table” and select Table – Inline
- Create columns such as:
- Category (e.g., Rent, Groceries, Entertainment)
- Planned Amount (your budget for the category)
- Actual Amount (what you spend)
- Difference (formula: Planned – Actual)
- Input your monthly budget numbers to set spending limits
Step 3: Track Your Expenses with a Database
- Add another Table – Inline for detailed expenses
- Columns to include:
- Date
- Expense Name
- Category (linked to your budget categories)
- Amount
- Payment Method (Cash, Credit Card, etc.)
- Notes (optional for extra details)
This table will help you record every purchase you make.
Step 4: Visualize Your Spending with Charts (Using Notion Integrations)
- Notion doesn’t have built-in charts, but you can integrate with tools like Google Sheets or Data Studio
- Export your expense data to Google Sheets for creating pie charts or bar graphs showing spending by category
- Embed charts back into Notion with the “/embed” command for a visual overview
Step 5: Set Financial Goals and Track Progress
- Add a “Goals” section on your page with checklists or progress bars
- Example goals:
- Save $500 for emergency fund
- Pay off credit card debt by December
- Invest $200 monthly
- Update your progress regularly to stay motivated
Step 6: Use Templates to Save Time
If you want a shortcut, explore Notion’s pre-made finance templates like:
- Budget Tracker
- Expense Manager
- Savings Tracker
- Debt Payoff Planner
These templates come with built-in tables and formulas — just customize to fit your needs.
💡 Tips for Success
- Update daily or weekly: The key to effective tracking is consistency
- Link related pages: Connect your budget, expenses, and goals for easy navigation
- Use filters and sorting: Quickly find expenses by category or date
- Automate reminders: Use Notion’s reminders or integrate with calendar apps
- Review monthly: Analyze your spending and adjust your budget accordingly
🔒 Is Notion Safe for Financial Data?
Notion uses strong encryption and security measures, but always use:
- Strong, unique passwords
- Two-factor authentication (2FA)
- Avoid storing sensitive info like full bank account numbers
If you’re concerned, keep sensitive info minimal or use encrypted note apps alongside Notion.
📈 Final Thoughts
Notion offers an incredibly flexible and user-friendly way to track your finances, tailor-made for your personal style. Whether you want to budget, log expenses, or set savings goals, you can create a system that fits your life perfectly.
Start simple, customize as you go, and watch your financial organization and control improve month by month.
Want more personal finance tips and digital tool guides? Visit MoneyNest.blog for practical advice to boost your money management skills.

